Composite resin restoration, step by step
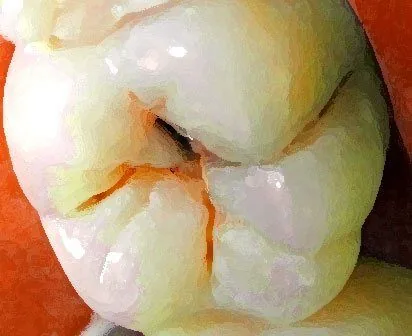
Step by step
- Anesthesia (if needed) and isolation of the tooth, ideally with a rubber dam.
- Remove the caries and prepare the cavity, preserving as much tooth structure as possible.
- Acid etching with phosphoric acid (in studies, 37% for about 30 seconds on enamel); then rinse and dry.
- Apply the bonding agent and harden it with the curing light (light-cure).
- Place the resin in layers of 2 mm or less and light-cure each layer.
- Check the bite, adjust and polish.
What you need to know
- Placing it in thin layers makes each layer harden properly and reduces shrinkage stress, which can detach the resin.
- Composite resin preserves more tooth structure than amalgam and looks like the natural tooth.
- In the U.S., composite resin accounted for 96% of restorations in 2023.
Terms in plain words
Acid etchingAcid that creates micropores in the enamel so the bonding agent can grip.
Light-cureTo harden the material with a curing light.
Incremental techniquePlacing the resin in thin layers instead of all at once.
For the exam
Why is composite resin placed in layers of 2 mm or less?
Show answerHide answer
So that each layer hardens properly with the light and to reduce shrinkage stress, which can open up the bond with the tooth.
Sources
- Hennessy BJ. Caries. MSD Manual, Professional Version (2026 revision). View source
- Systematic review: operative techniques in Class II composite resin restorations (clinical and laboratory studies). View source
More from Cariology & Operative Dentistry
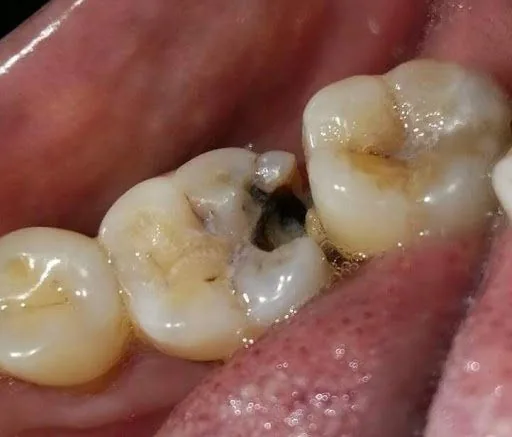
Caries
Stages of caries
Caries progresses from the outside in: enamel → dentin → pulp. While it is only in the enamel, it can still be remineralized.
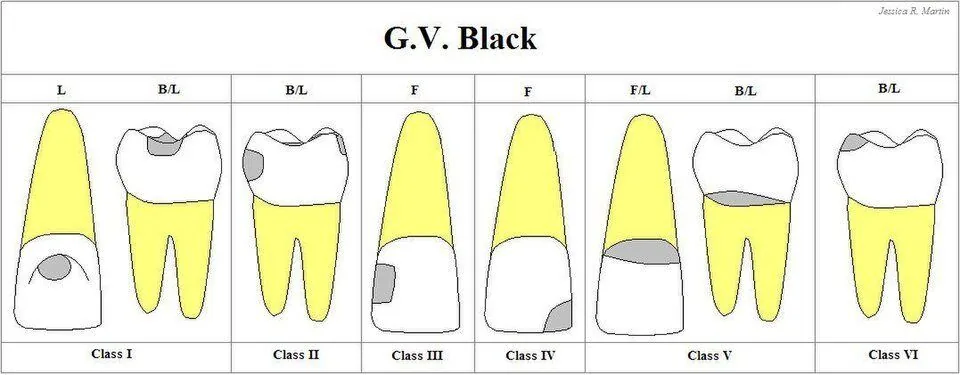
Black
Black's classification
G. V. Black classified caries and cavities by where they are on the tooth: Classes I to V, and Class VI was added later.
Factors
Factors behind caries
For caries to occur, 4 factors have to come together: a susceptible tooth, bacteria, sugars and time.